Wednesday, May 2, 2012
Friday, April 27, 2012
Ode to the Drawstring Bag
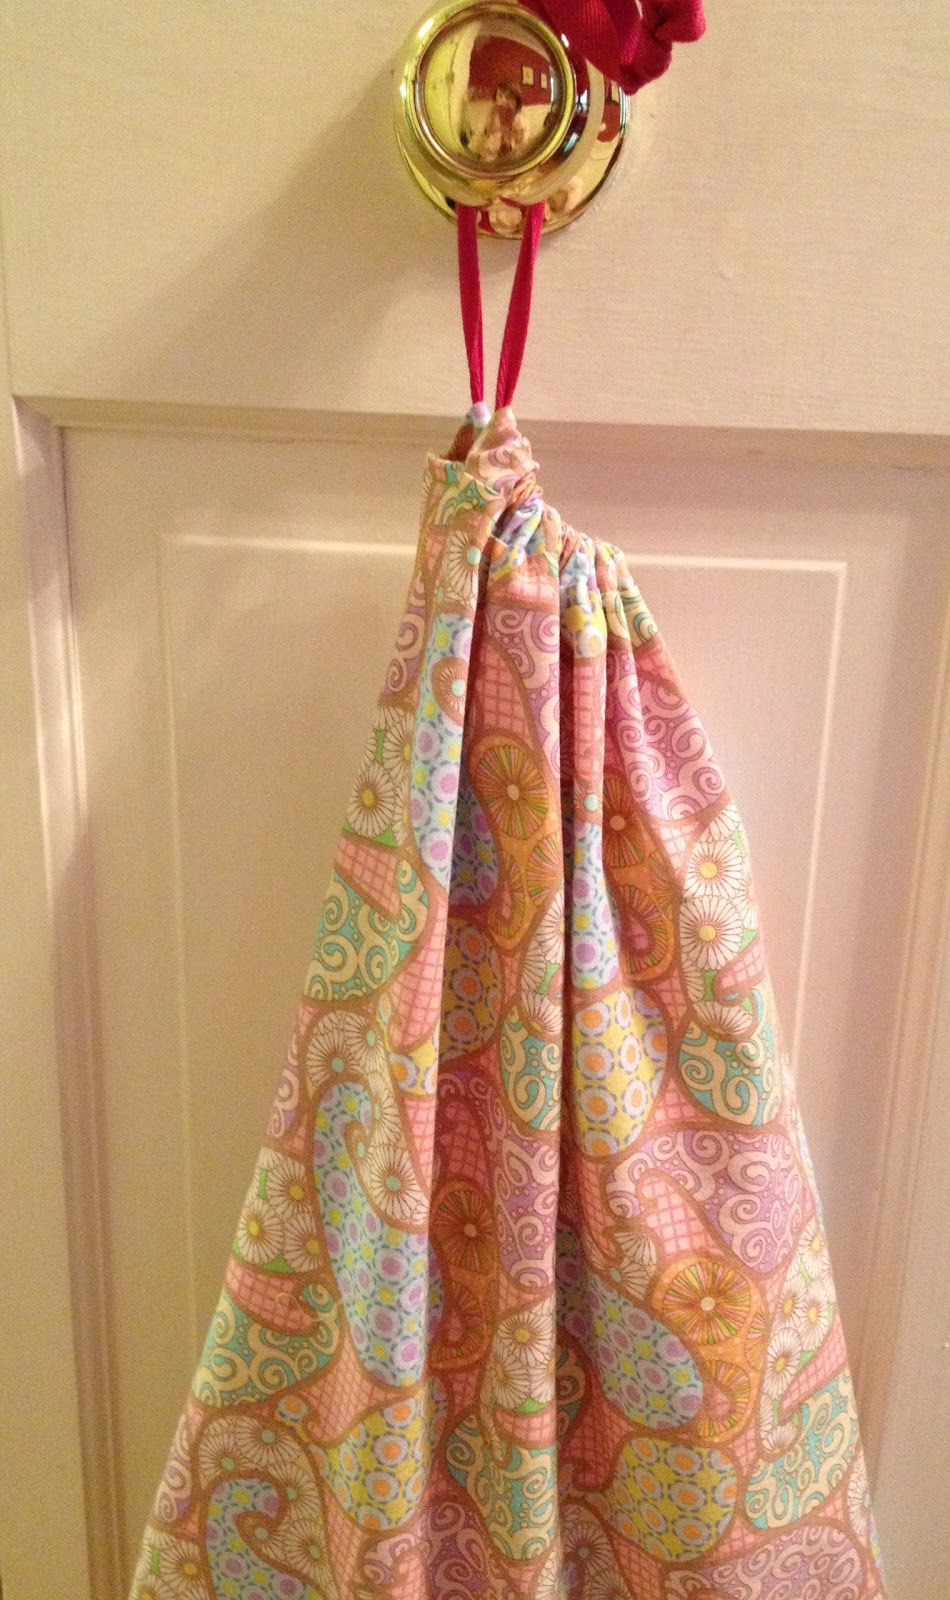
I have been fascinated with drawstring bags lately. They are so practical and useful. I often have little projects that I take with me but they get thrown into a larger bag, yarns get tangled, threads become confused, and needles abound poking me every chance they get. I decided to make a drawstring bag to contain each of my projects. When I am ready to go, I can easily grab a bag or two and take it with me.
Made in all different sizes and in fancy fabrics, they can be useful for all occasions. A friend of mine whipped up some gorgeous hand stitched silk bags perfect for a night at the opera. Add a few straps and the simple drawstring bag becomes a useful backpack. Add a grommet and the bag becomes a yarn bag to keep your yarn from rolling away. Made tiny, they are treat bags for kids birthday parties or gift bags for diamonds and pearls (hint, hint).
I have decided to do a series of posts on drawstring bags. How to make them, how to use them, how to adapt them for every purpose. It's going to be a fun journey. Easy enough for beginners, useful enough for seasoned seamsters.
Friday, February 10, 2012
I "Heart" Purse

Materials:
scraps of cotton
interlining (flannel, fleece, or interfacing)
8-10" zipper (or longer if you already have it)
Handle hardware - can use a d-ring, swivel clip, etc.
Paper (for pattern)
 |
| Pattern |
Just like in grade school, cut out a heart shape from a folded sheet of paper. Mine is roughly 10" across the widest part. Try not to make the point too pointy or it will be difficult to turn. Draw a line across the widest part of your heart. Using tracing paper, trace the bottom half of the heart. Add 1/2" seam allowance to top edge. Trace the top half of your heart adding a 1/2" seam to the bottom edge.
 |
| Trace front with opening |
Cut out all three pattern pieces (full heart and 2 front pieces) from lining and interlining.
 |
| Adding Strips |
Step 2 - String Piecing
Starting on your full heart interlining piece, lay a strip across the center right side up. Add another strip right side down on top lining up edges. Stitch 1/4" seam. Fold open and press. Continue adding strips until the heart is covered.
 |
| Trim interlining from seam allowance |
Cut one top heart piece from scrap of fabric. Place it wrong side down on top of the interlining piece. Stitch 5/8" along straight edge. Trim interlining from seam allowance. Fold over 1/2" and press.
Cut zipper so that it is 1" shorter than widest part of heart. Cut a strip of fabric 2" wide. Fold in half lengthwise and press. Fold raw edges into center. Press in half and use for binding. Bind both edges of zipper.
 |
| Draw line 1 1/2"from edge |
Step 4 - Putting in Zipper
Place top lining piece right side up on table. Place zipper even with raw edge. (Wondertape is great here if you have some.) Place outside top heart on top of zipper tape, even with teeth. Pin in place carefully making sure to catch all layers. Stitch on top of previous stitching line close to teeth. Repeat for bottom.
 |
| Lining on bottom, zipper, then outside |
 |
| Finished top zipper |
 |
| Stitched outside leaving lining free. |
Be sure to open zipper! Add a strap or handle before sewing everything together. Place outside pieces right sides together. Sew top half just to zipper stitching line. Sew bottom half just to zipper stitching line. Stitch lining pieces right sides together just as for outside only leave a hole for turning. Clip corners, points, and V of heart, making sure you don't clip your stitching (ask me how I know!). Turn through the hole in the lining. Stitch by machine or by hand the hole in the lining. Press and Love!
 |
| Back of finished purse! |
Wednesday, January 11, 2012
Planning...
 I am a list maker. I like having things spelled out and the feeling of checking things off my list. I am also a planner/diagrammer. I can make purses, totes, wallets, and such by sketching out what I want on paper and adding measurements. I write out the goals of our homeschool every year and then see how we did at the end of the school year. Once again, checking things off my list. Planning takes work, but accomplishing the goal takes even more work.
I like to let go and let God but sometimes that is misconstrued as laziness. I don't have to do anything because God can do all things. This is where I am getting hung up. I planted the veggies, therefore the harvest is in God's hands. I end up with plants like the one at left and then wonder why my harvest is so poor. Paul's missionary journey was plagued with hard work, persecution, and heartache. His service to God, his obedience to the calling, led to his great harvest. I cannot sit back and expect a harvest with no effort.
So this year, I am going to work harder. I will tend to my garden this year rather than sit back and hope for the best. I long to have a better yard, beautiful flowers, a sanctuary, but am I willing to do more than look at the drawings on the paper? There are times to let go and let God, and there are times when we need to get into the trenches and do some physical work. God is calling me to work for the beauty I desire this year. He is calling me to follow His plans, but I must get off the couch. He is calling me to greater things, but I must be obedient in a new way. It is time to head into the trenches.
Subscribe to:
Posts (Atom)